How to Hand Over an Assignment Using Intelligent Handover
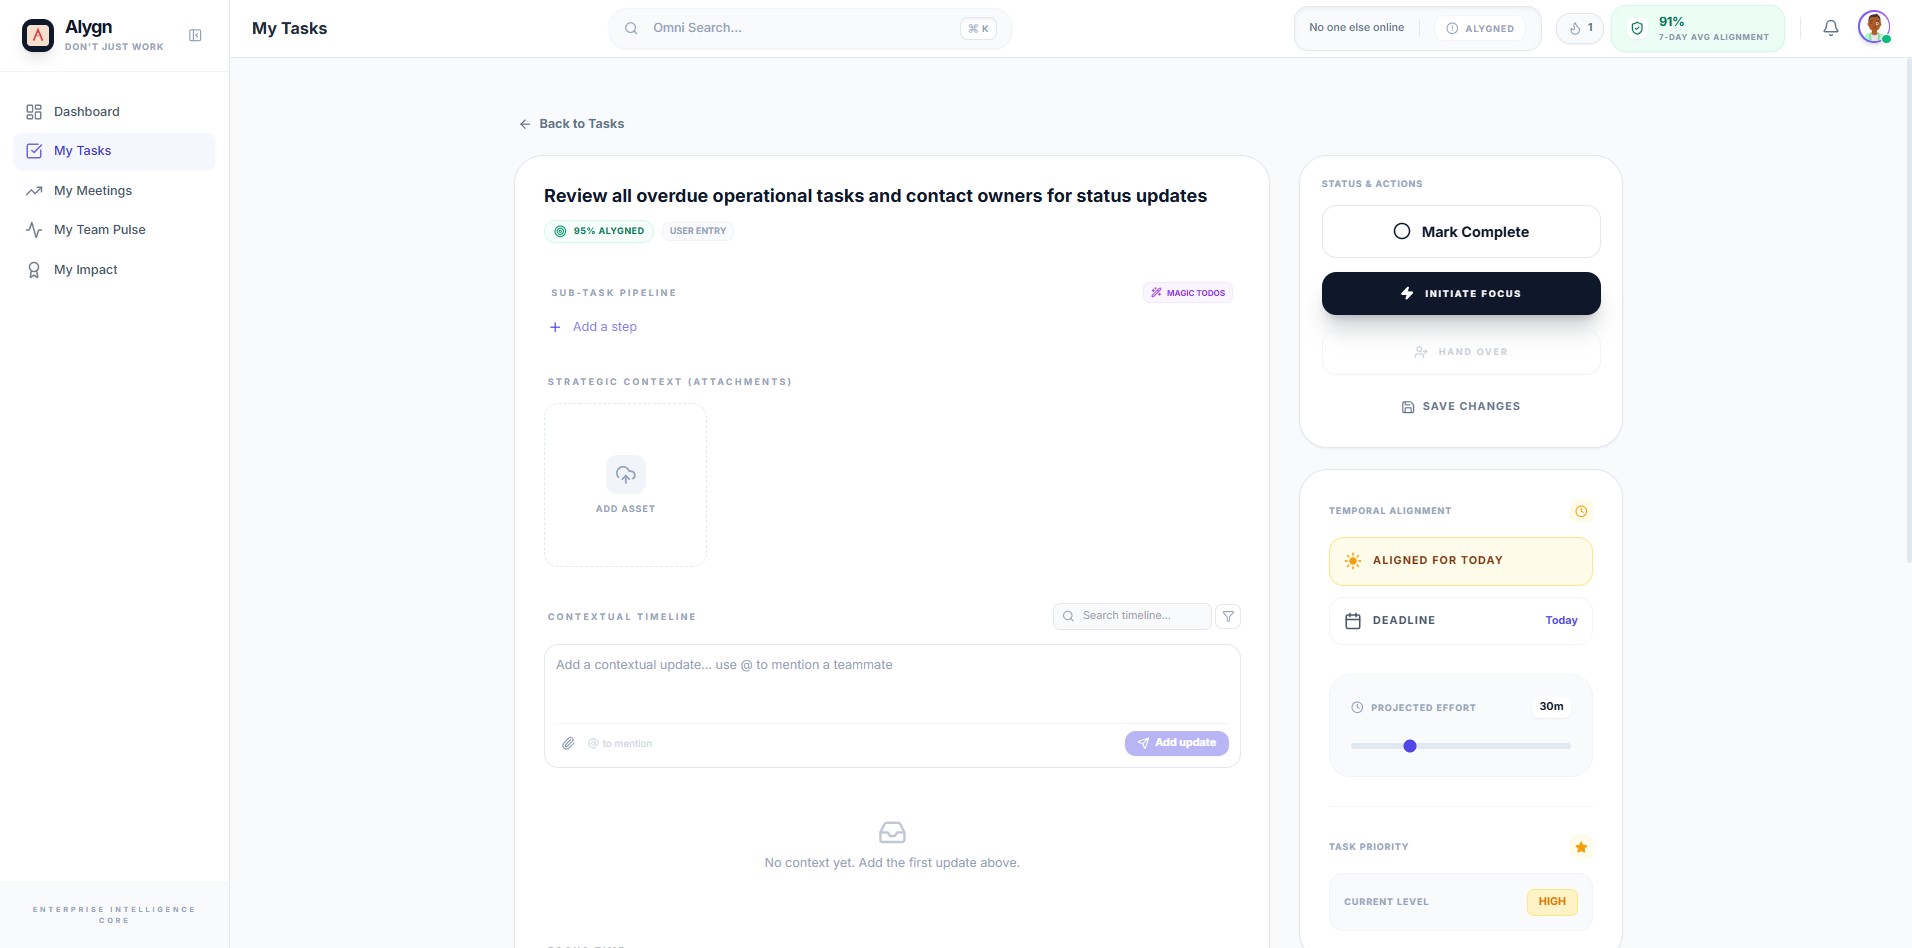
Open your browser and navigate to the specific task page in Alygn. This brings you directly to the task detail view where you can initiate the handover process.
In the Status & Actions panel on the right side of the task detail page, click the Handover button. This launches the Intelligent Handover modal, which guides you through the mission calibration protocol.

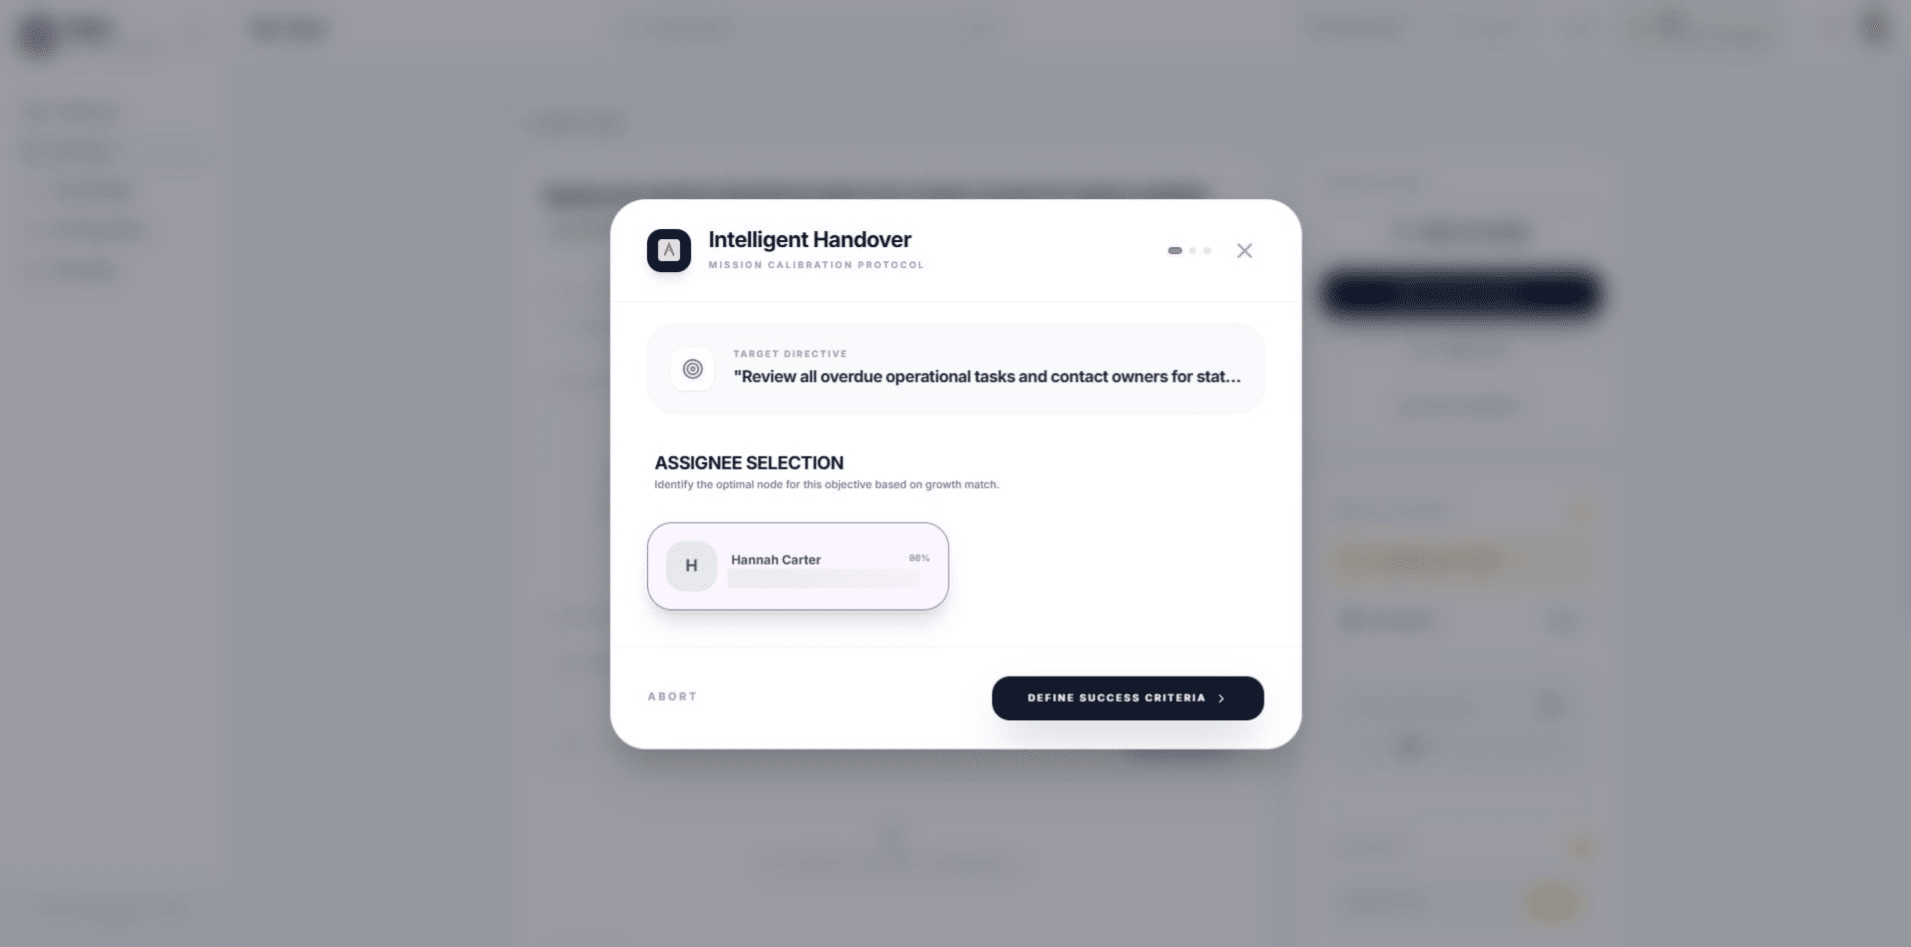
In the Assignee Selection section, choose the most appropriate team member for this assignment. Alygn automatically scores and ranks team members based on their project descriptions and relevance to the task, making it easy to identify the best fit.
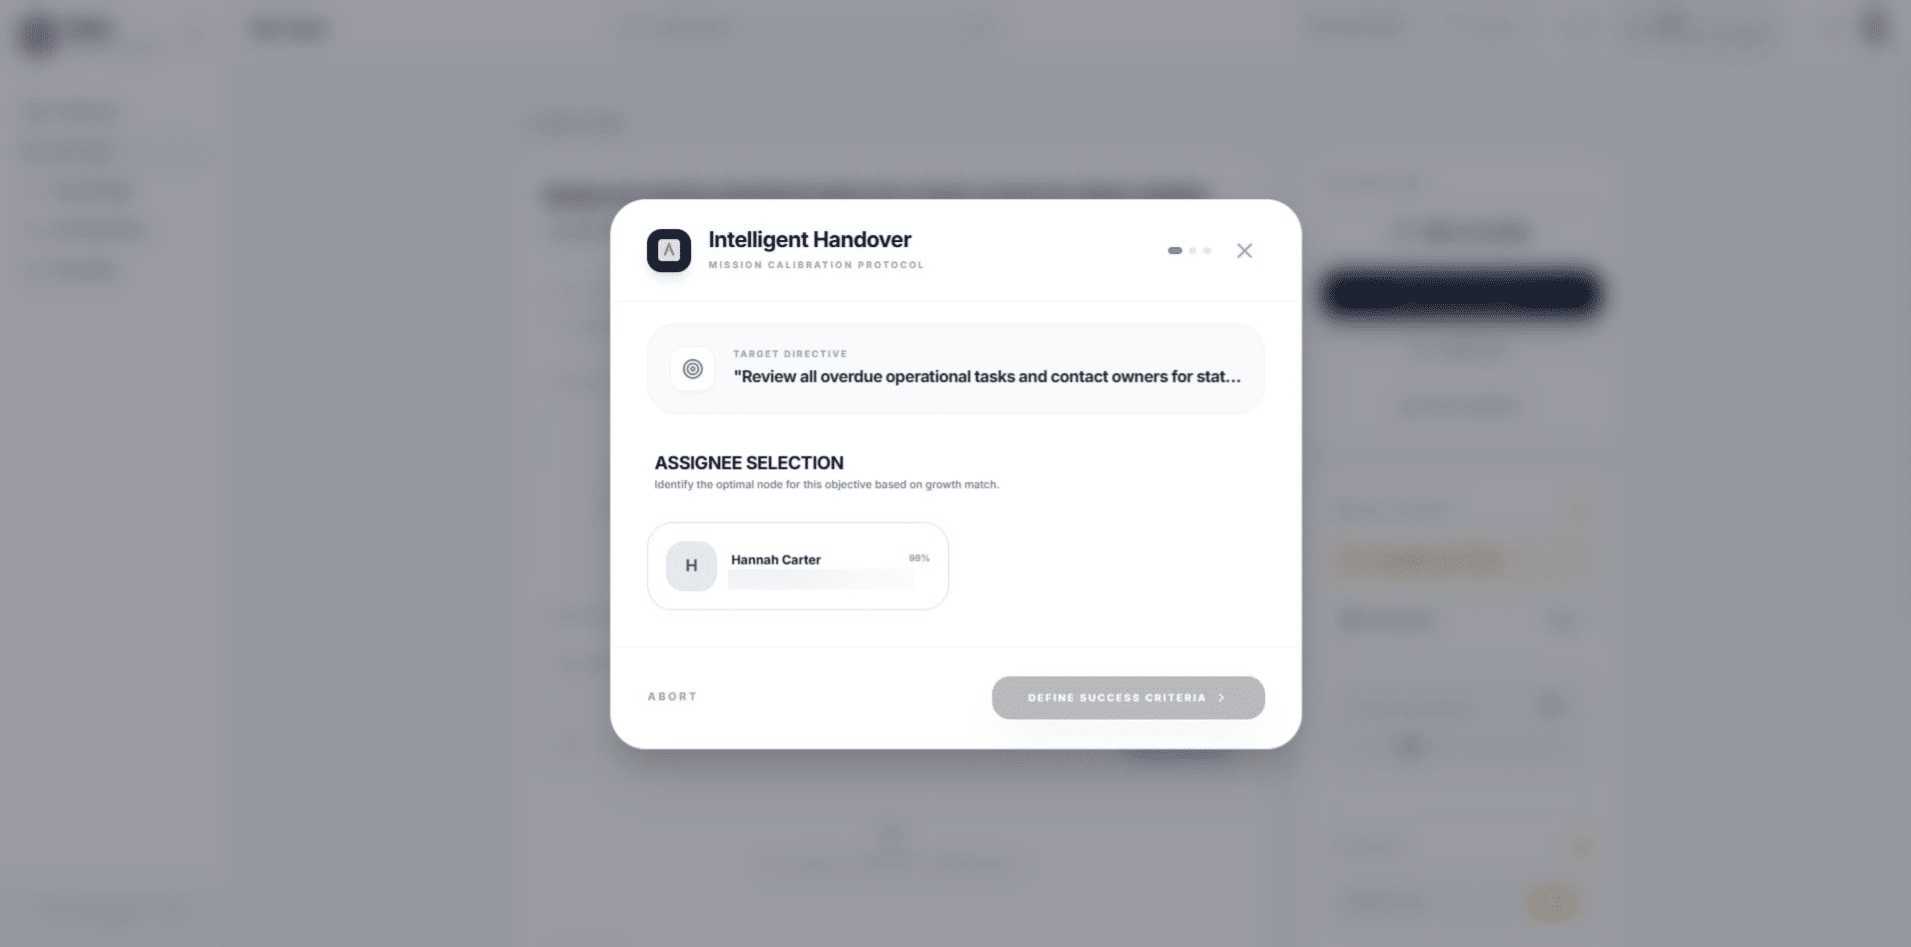
Once you have selected your assignee, click the "Define Success Criteria" button to proceed. This moves the handover process to the next stage, where you will set clear goals and context for the incoming team member.
Review the pre-populated Context Handover text generated by Alygn. This briefing captures the strategic importance and expected outcomes of the assignment for the incoming team member. You can edit or accept the text as is.
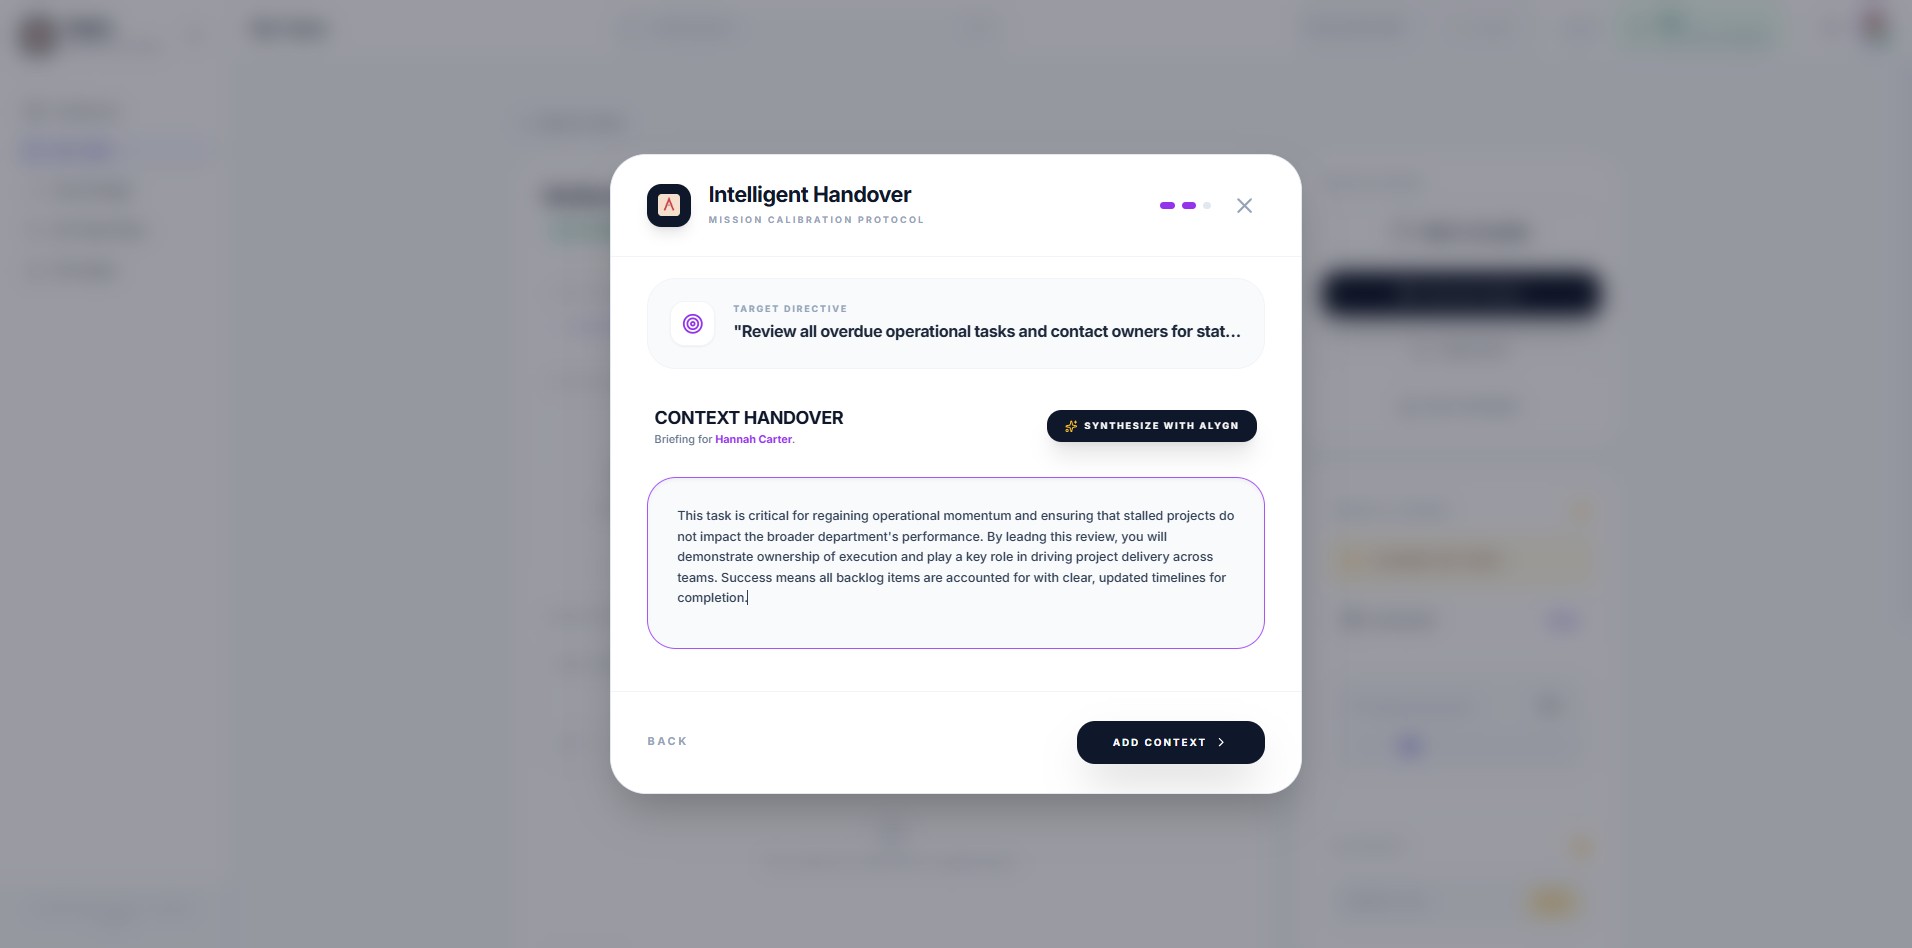
Once you are satisfied with the context, click the "Add Context" button to confirm and attach the handover briefing to the assignment. This ensures the new assignee has all the information they need from day one.

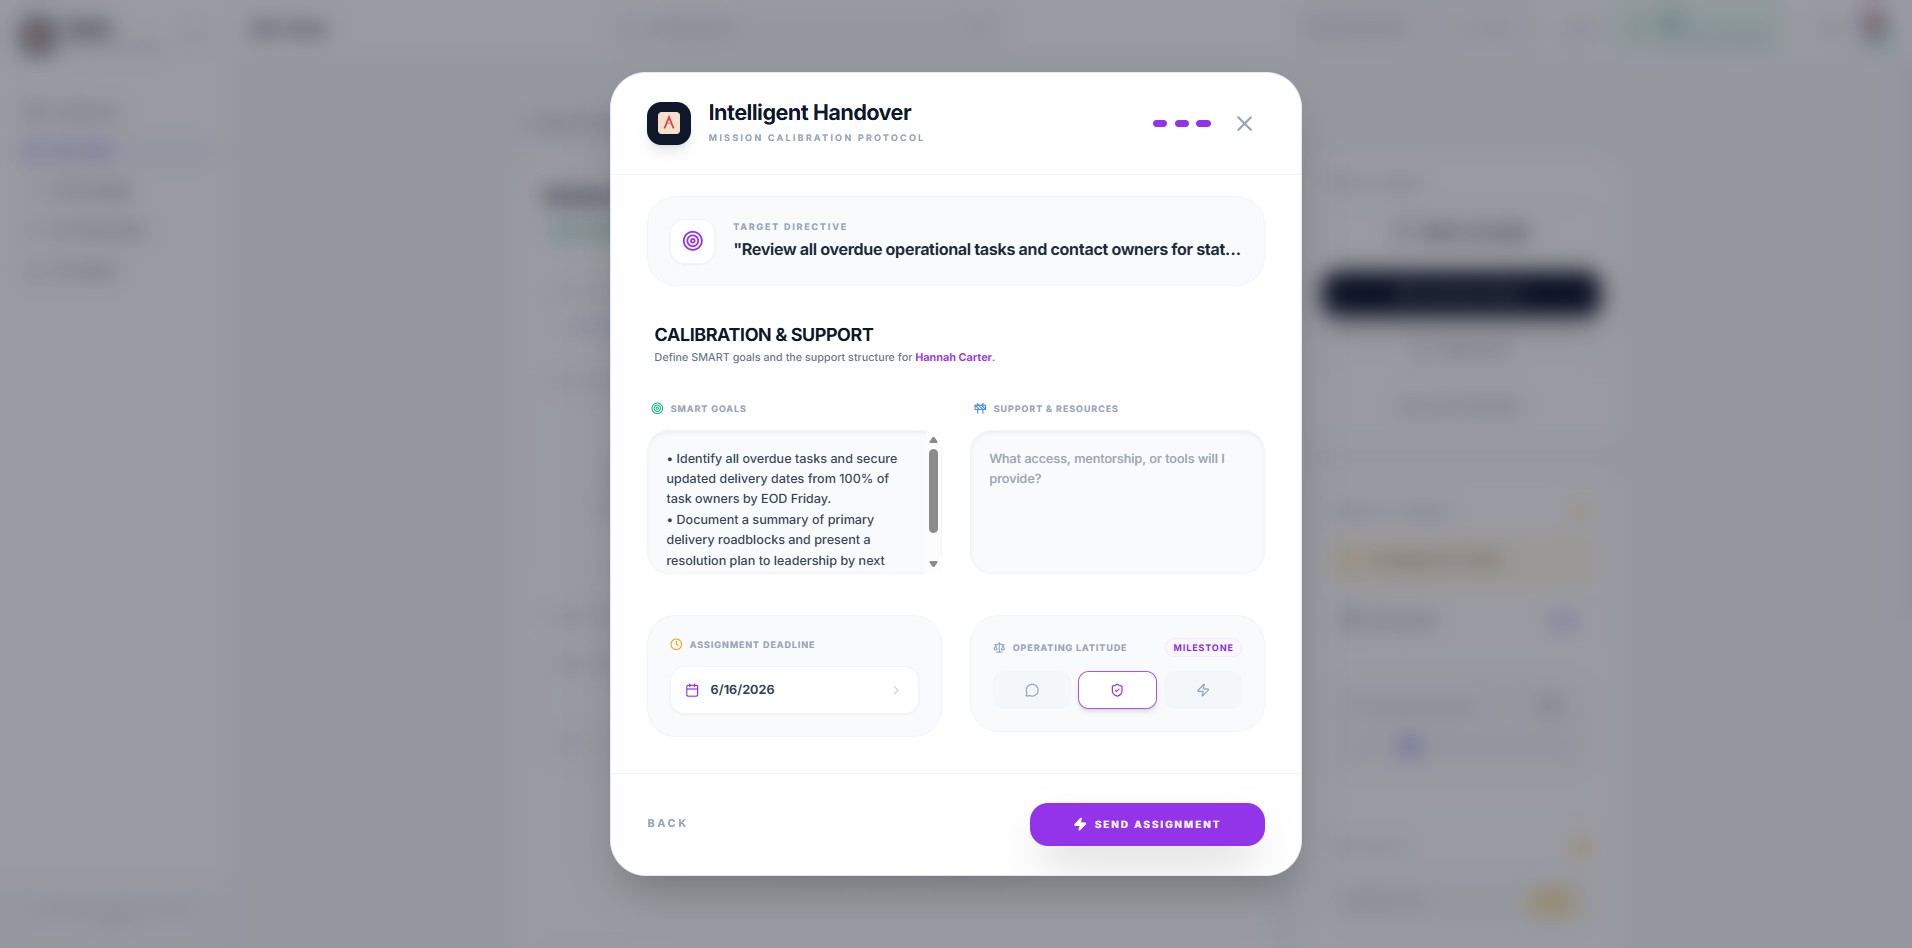
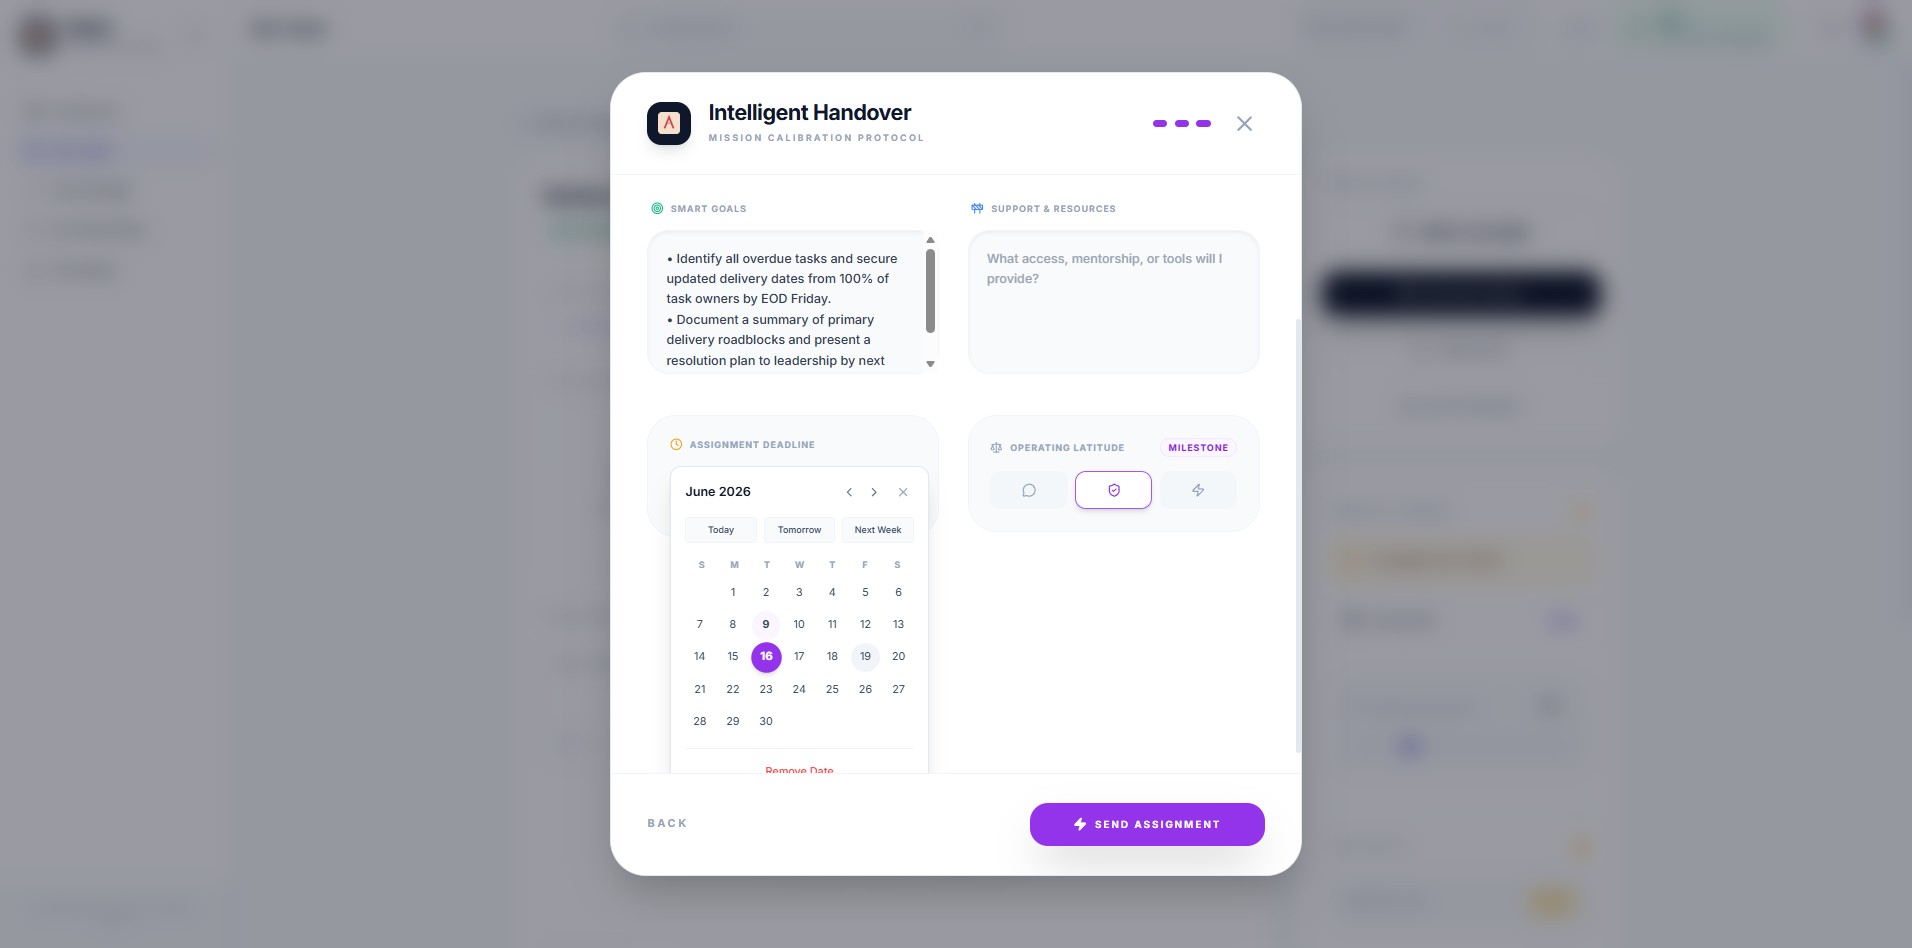
In the Calibration & Support section, click the calendar icon next to the Assignment Deadline field. This opens a date picker so you can set the due date for the handover assignment.
Select the respective due date
Click this icon
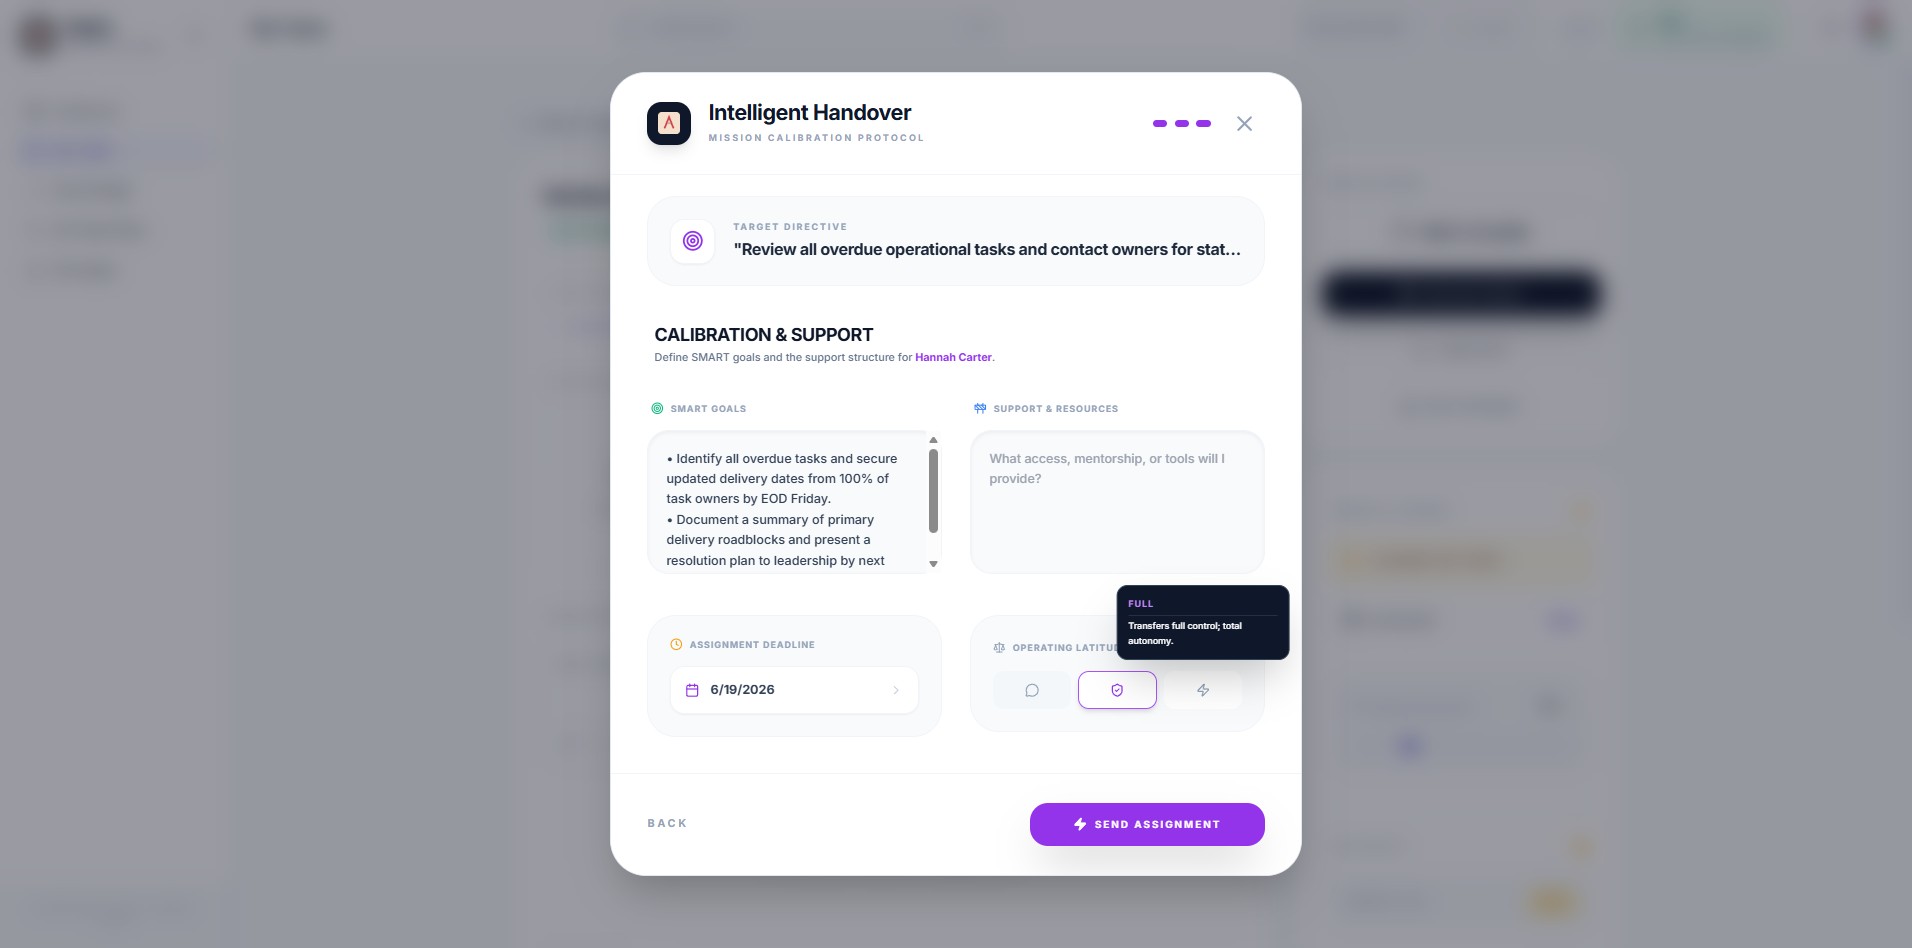
Click this icon

Done 🚀